Thirsty Thursday

Beef, Entrées, Recipes, Slow-Cooker

We have a tradition around this household since our child has been born. Since we can’t go out as much anymore, our friends come to us on what is lovingly called “Thirsty Thursday.” It’s the perfect day of the week since we’re not eating into the social calendar of our friends with no children, and everyone is worthless on Fridays at work anyway. What I’m saying is, we’re hung-over and no one gives a damn. We tried and failed miserably to move the day to Tuesday once, dubbing it “Too Many Tuesdays.” It was an epic failure. Don’t get me wrong, we had a great time, so great in fact that everyone involved was in pain for the next week. I won’t name names, but I remember a specific friend of ours texting me to “swear we’ll never do it again.” All of this to lead into why I had to make such a large amount of food for what would normally be just three at the dinner table.

I normally do pot roasts in the crockpot because all our meat is frozen, but I was wanting to impart a little more flavor this time. I started with a thawed roast, and you’ll want to do the same since I’m going to ask you to sear the outside. This is a very easy recipe and it turned out to be really flavorful whereas, let’s be honest, crockpot items can turn out bland. I also made easy yeast rolls to accompany this dish (I may blog about this when I’m not feeling lazy), which turned out to be the most labor intensive part of the meal. Don’t be scared of making your own bread, however. It is very rewarding and not much work. You just have to plan ahead a couple of hours.

I’m going to go ahead and apologize for lack of specific measurements on this recipe. I’m a throw it in and see how it goes gal and I don’t realize this till I try to share what I did. You can adapt this recipe to suit the crockpot by putting everything that you’ve seared into the crock before adding spices and liquid. And then I would just cook it on low until you’re ready to eat and the minimum internal temperature of the roast is 150°F. This recipe can also be adapted to suit any size or cut of roast. I would just add a package of onion soup mix for anything over a 5 pound roast and add approximately ½ cup of broth for each additional pound of meat beyond what is discussed here.


Total time: 3-4 hours depending on size of roast

Prep: 10 minutes (includes searing the meat)

Cook: 1 hour per pound of roast


3-5 pound roast (I use whatever is on sale. Just get something with some good marbling like chuck roast)

2 tablespoons olive oil

2 whole onions

Salt

Pepper

1 packet onion soup mix

3-4 cups beef or vegetable stock

Place your olive oil in a large Dutch oven that has a tight fitting lid available for later in the recipe. Turn your heat up to medium-high. Cut your onions in half and peel and place in the now hot pot. You’ll want to sear the onions till they get some color on them, then remove them to a clean plate.

Cover your roast in salt and pepper on all sides and place in the still hot pot to sear. You’ll want to do this treatment to all sides of the roast until they have a good amount of color. Now turn off the heat on the stove and preheat your oven to 275°F.

Mix the broth with the onion soup packet and pour over the roast. Cover and place in the oven for 3 hours (for a 3-pound roast) and 4 hours (for a 4 to 5 pound roast).

Image

Getting color on the onions. Notice the child safety locks on the stove.

 Image

Look for good marbling. Fat = flavor.

Image

Image

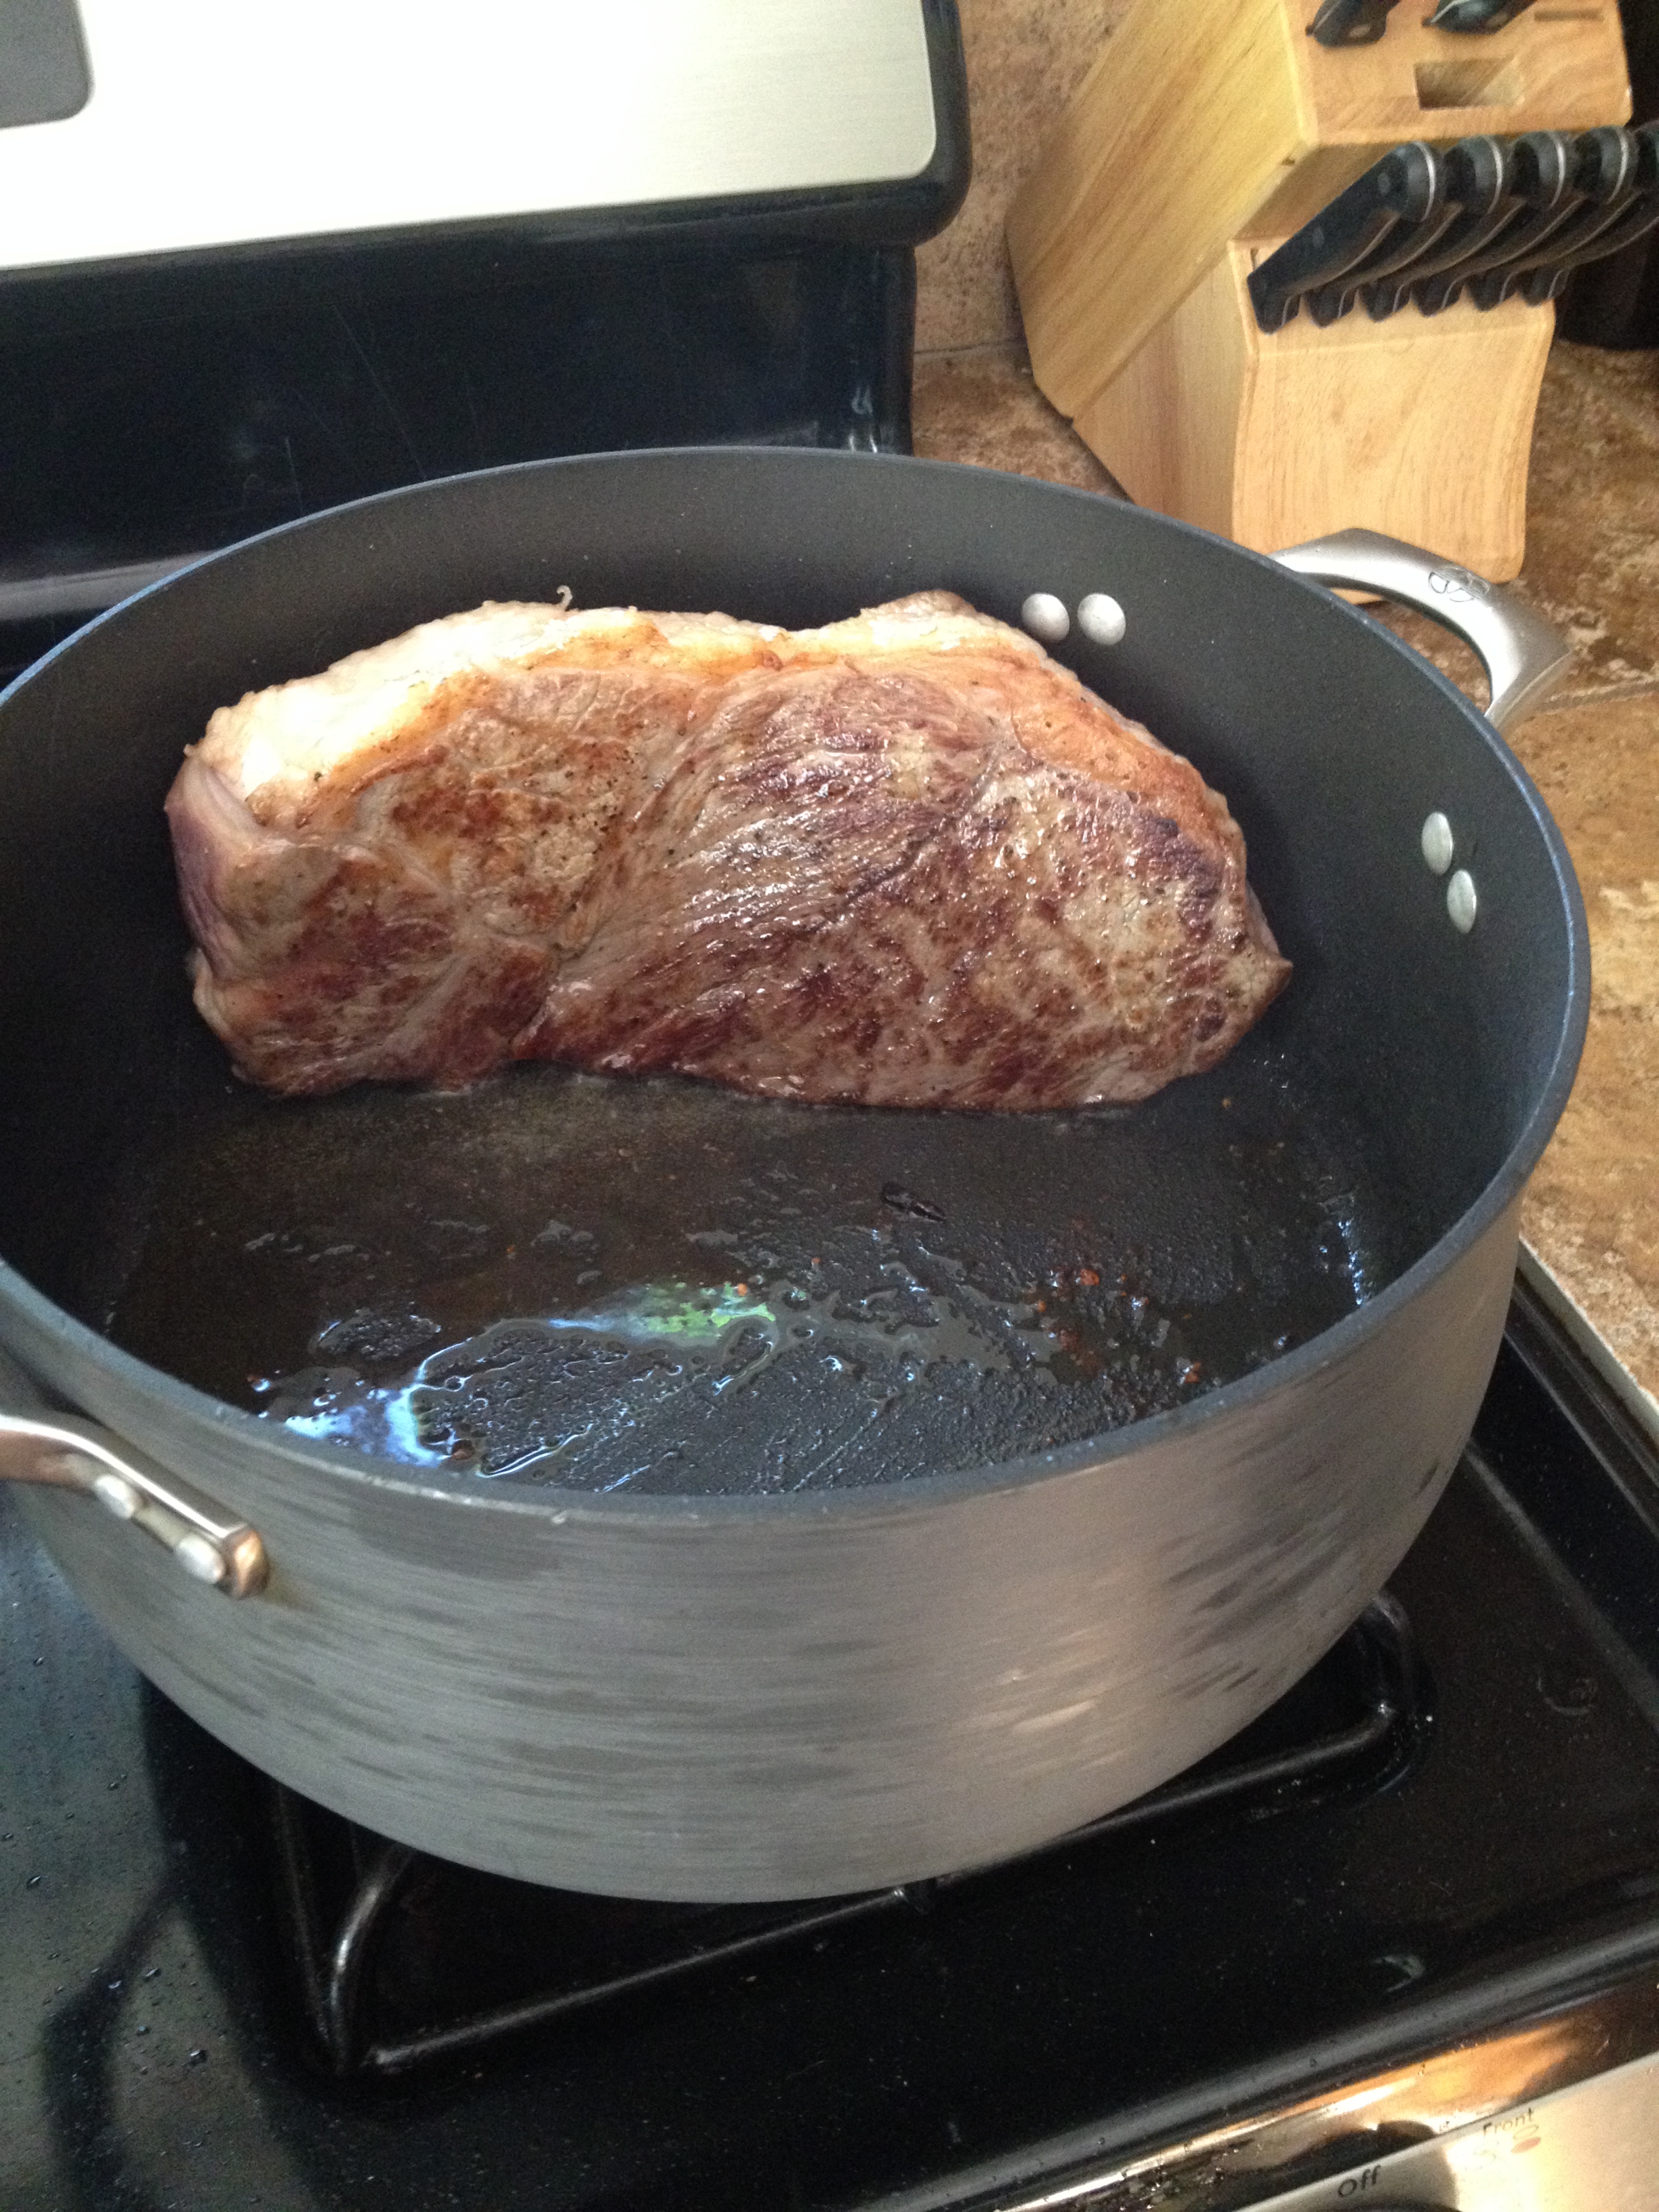
Side searing like a boss. A very lazy boss.
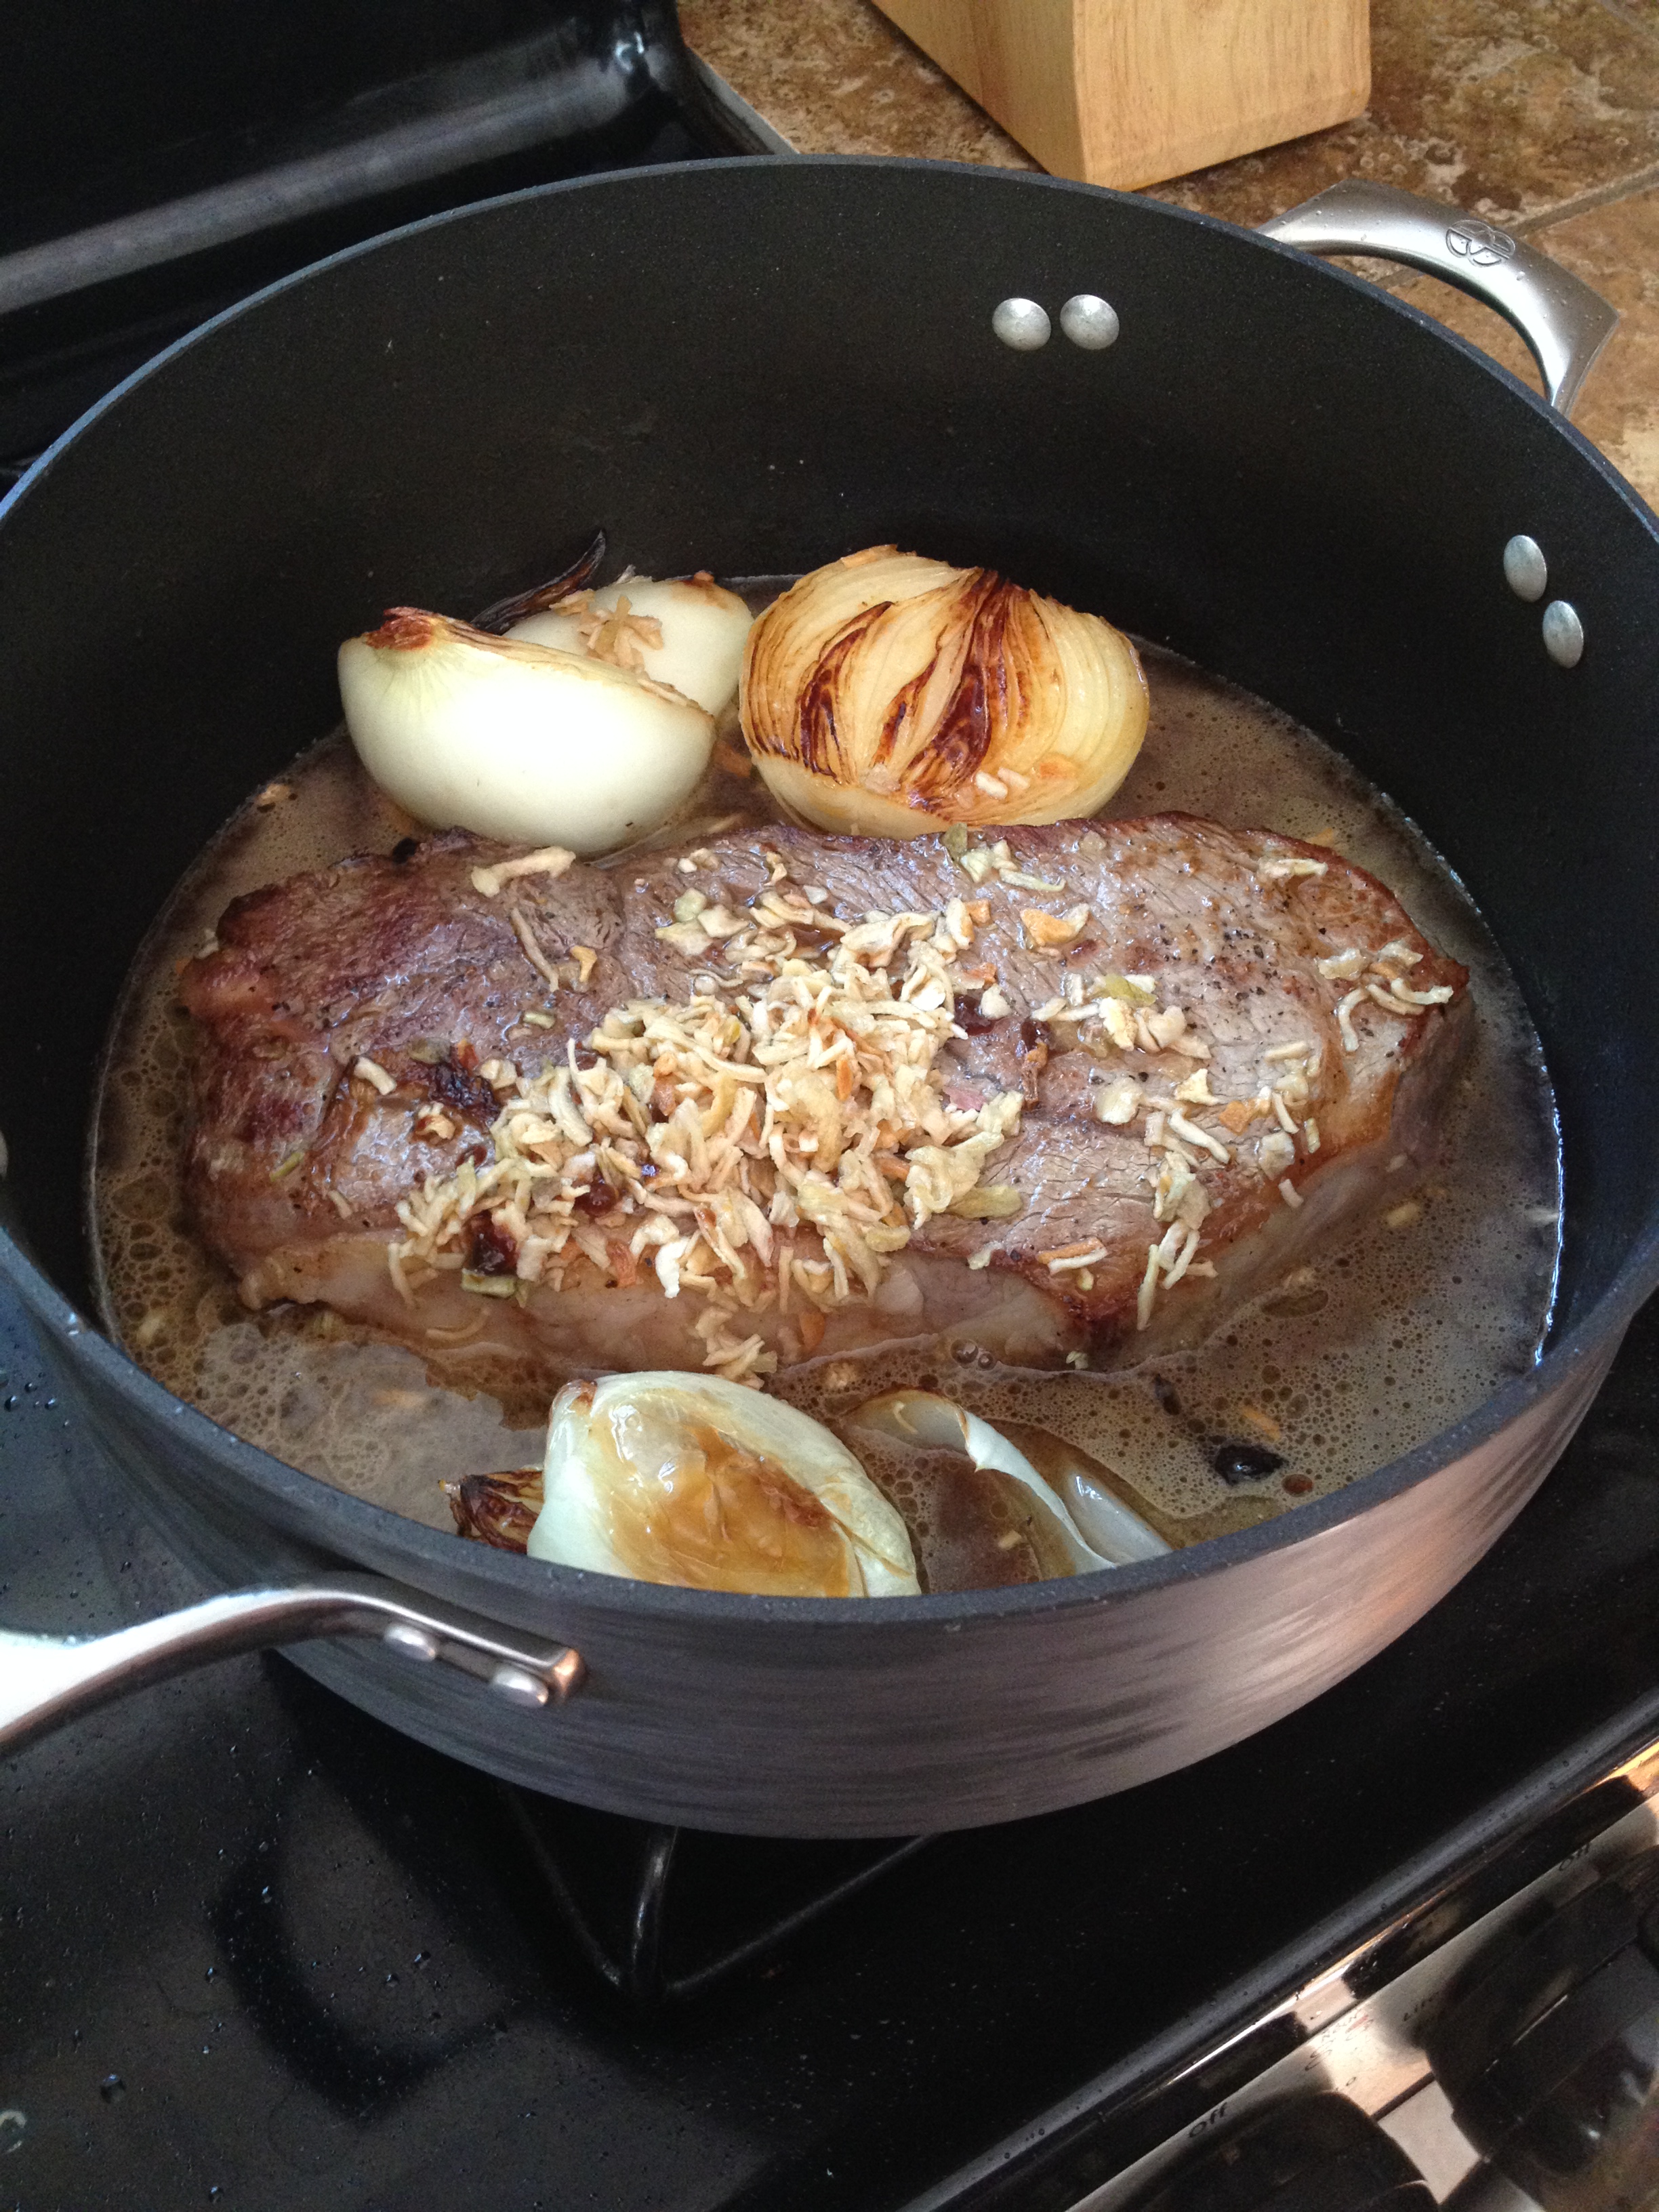
Image

Ready for the oven!

Image

Accompaniments…


“Blog worthy”

Chicken, Entrées, Leftovers, Quick Fix, Recipes, Side Dishes

chicken fried rice
My husband is pretty good at bragging on me, but not enough for me to get a big head, because I’m definitely prone to do that. Knowing this, it may come as a surprise that he literally went on for hours this evening over leftovers… chicken fried rice to be exact. Which was the only choice we had as our fridge was barren. I had spent all day literally doing nothing but preparing for a garage sale and sitting in the yard with coffee and a toddler. I try to act like I have a plan for meals, I really do, but tonight was more the rule than the exception and I just threw it together and thankfully, it really turned out. So much so that the man that has yet to even see my blog deemed the recipe “blog worthy.”

So let’s get down to the nitty gritty, shall we? Still, with the leftover chicken! And because in my mind, fried rice does not equal a meal, I attempted to replicate a spicy edamame dish served at a favorite local sushi place. But we’ll discuss the main dish first.

Total time: (not including cooking the chicken) 40 minutes
Prep: 5-10 minutes depending on how many vegetables you have to chop
Cook: 20 minutes

1 cup dry white rice
2 cups water
1 yellow onion, diced
1 egg
1 cup cooked chicken, diced
Veggies if you like them (carrots, zucchini, peas, celery, corn, water chestnuts would all work here. Anything you can come up with that isn’t too wet.)
4-6 tablespoons butter
1 tablespoon soy sauce
Pepper
Toasted sesame seeds (optional)

Cook rice however suits you best. I personally use a rice cooker because it’s super easy and some people are just prone to screw up rice, my husband being one of them. Once the rice is cooked, I put it in a fine colander and run it under cold water to cool it off. You could also place it in the fridge if you think ahead further than I. But who are we kidding? The main goal here is to have cold rice as it over cooks if you try to fry it while it’s still warm.

While the rice is cooling, place 2 tablespoons of butter in a large skillet and sauté the onion and any additional vegetables you choose over medium-high heat until it gets a bit of color. Add the egg and chicken and cook through. At this point, I add an additional 2 tablespoons of butter to the pan and then the cold rice and soy sauce. You will need to add more butter if the rice is wanting to stick, but depending on the pan, it will vary. Let the rice sit without stirring so that it starts to get color and fry, turn it over with a spatula every couple of minutes. If your rice completely fills the pan and is too thick, it will just continue to steam. In my case, I fry the rice in two batches so that it’s only about a ½ inch thick in the pan and can get a really good crust on it. Add more butter as you need to. Don’t be scared of the butter. Be one with it. You may chant this to yourself if you feel your cardiologist guilt tripping you on your other shoulder.

Once you’re ready to serve it, you can add more soy sauce depending on the level of salt that you prefer. This is also the time when you would add pepper and toasted sesame seeds if you like them! Also please remember that this recipe is well suited to be made with a variety of proteins. This would be great with beef, extra egg, tofu, just veggies, you name it.

Now for the side dish/main source of protein in this meal. The original recipe Spicy edamame.

Total time: 18 minutes
Prep: 8 minutes
Cook: 10 minutes

2 teaspoons kosher salt (less if your edamame is pre-seasoned)
1 teaspoon chili powder
1/4 teaspoon red pepper flakes
1 tablespoon minced garlic
1 tablespoon sesame oil
1/2 teaspoon dried oregano
1 (1-pound) bag frozen edamame, in the pod

Mix the salt, chili powder, garlic, and pepper flakes in a small skillet with the oil over medium heat, stirring until hot and aromatic, about 3 minutes. Remove from the heat and mix in the oregano.

Boil the edamame pods in salted water until tender, about 8 minutes. Drain in a colander and toss the edamame pods with the chili-salt. Serve warm.

This recipe can also be prepared with the steam in a bag frozen edamame you can find at your local supermarket. Just to make your life even easier.

Can’t eat the same thing twice

Chicken, Entrées, Leftovers, Quick Fix, Recipes

Image

Most of the recipes on this site will be scaled down to feed a family of three or four, but there are always exceptions to this rule. Specifically when I’m making basics like whole chickens and roasts that can be turned into many other recipes. I think the hardest task as a cook is to come up with meals on the fly after a long day of work, no pre-planning, and a toddler underfoot. That’s why I’m going to start a category for leftovers.

Our family has an interesting take on this leftover business. We simply cannot stand to keep eating the same thing meal after meal till it’s gone. This may be why our freezer is full of single serve portions of pork roast and even waffles. This “issue” is actually the catalyst for a lot of our favorite recipes’ creations, and it can be yours too if you’re willing to be a little creative and you have a well-stocked kitchen. I will write a post later on what I consider to be my kitchen staples to make pretty much any recipe. However, I must note, please never look at a recipe you’re in the mood to make and write it off because you may not have every ingredient. Ingredients and amounts only really matter when you’re baking something. Everything else is up for debate.

Here’s where this recipe started Chicken and Couscous. Great. I have 20 minutes that my husband is home for lunch and we have a hell of a lot of chicken left over from Chicken in Milk. This will do.

Total time: 20 minutes
Prep: 5 minutes
Cook: 15 minutes

1 cup dry whole wheat couscous
2 cups chicken stock
2 tablespoons butter, divided
1 yellow onion, diced
2 cloves garlic, minced
1 cup cooked chicken, diced
1 lemon, zest and juice
Tandoori powder
Salt and pepper to taste


Get couscous started on the stove by boiling stock. Add dry couscous and follow package directions regarding cooking time. Once fluffed and ready, add 1 tablespoon of butter and the lemon juice and zest.

While the couscous is cooking, sauté diced onion in a skillet in 1 tablespoon of butter over medium-high heat until transparent. Toss chicken in tandoori powder or another Middle Eastern seasoning of choice like turmeric and garam masala. Add garlic and seasoned chicken to cooked onion in the skillet and heat through, being careful not to burn the garlic, but getting a bit of color on the chicken which will add flavor. Toss chicken mixture and couscous together and season with salt and pepper to taste.

Enjoy!


Judgy Mcjudgerson

Chicken, Entrées, Recipes

chicken in milk

Ever see a recipe and immediately think, “nope.” This was my reaction when I read Jamie Oliver’s recipe for Chicken in Milk. However, I think it’s important to remember as with other times in our lives, that if the majority of people agree on something, they are probably right. None of your friends like your boyfriend? Dump him. Several coworkers ask if you’re sick when you’re not? Probably time for a nap and some lipstick. Overwhelmingly good reviews on a recipe that sounds vile? Better sign me up.

So the story goes that I went to the store with shopping list in hand and chicken thawing in the fridge. All I needed to complete the recipe was terribly over-priced fresh sage (when will I finally plant some?!) and lemons. It was all too easy. My husband saw the ingredients for this particular dish and he was just as concerned as I was, however, more inclined to show his fear as he does with any new cooking ventures.

I plowed ahead and made a few changes to the original recipe. I am a huge fan of Old Bay seasoning, so I coated the chicken in it before browning in the butter. I also omitted the cinnamon stick suggested in the original recipe as the last time I added cinnamon to chicken was when I made homemade pho and it was terrifying. Aside from that, I did leave the lid on for half the cooking time to reduce the need for basting and used a larger chicken than suggested just because it was what I had on hand. This is the perfect last minute chicken dish as it is as moist as a crockpot chicken without the cooking time, but as flavorful as a roasted chicken without all the prep because of those damn vegetables. This chicken is never dry, and the sauce lends itself to being sopped up with crusty French bread.

What I’m trying to say here is, make this. Don’t worry. The masses are right.

Total Time: 1 hr 45 min
Prep: 5 min
Cook: 1 hr 40 min

1 (3 pound-5 pound) whole chicken
Salt and freshly ground black pepper or Old Bay Seasoning
1 stick of butter
1 good handful fresh sage, leaves picked
2 lemons, zest only
6 garlic cloves, minced
4-5 cups of whole milk

Preheat the oven to 375° F. Place butter in a Dutch oven with a tight fitting, oven proof lid. Season chicken well with Old Bay or salt and pepper, depending on your preference. Melt butter over medium-high heat and place seasoned chicken in, browning on all sides to crisp the skin and give it a good flavor. Remove chicken to a clean plate and drain out most of the butter in the bottom of the pan. Don’t be too particular here as the butter and browned bits in the pan will lend your sauce a nice flavor.

Put your chicken back in the pot with the rest of the ingredients, and cook in the preheated oven for 1 1/2 hours. Place the lid on the pot for the first 45-60 minutes of cooking to prevent having to baste the chicken. Remove the lid towards the end of cooking to help thicken the sauce. The sauce will appear curdled due to the lemon and milk combinations, but don’t be alarmed, this in no way affects the flavor of the sauce. Bring the chicken to an internal temperature of 180° F in the thickest part of the meat and not against the bone. Take the temperature in several places on the chicken to ensure that it is thoroughly cooked.

Enjoy!